Astral Photography - Part 2
#Astral
#Photography
#Moments
Astral Photography - Part 2
Capturing Celestial Moments - Part 2
Welcome back stargazers! In this second part of our series on capturing celestial moments, we will delve deeper into astrophotography techniques and equipment to help you enhance your night sky photography skills.
Choosing the Right Equipment
When it comes to astrophotography, having the right equipment can make a world of difference. Here are some essential items to consider:
- Camera: A DSLR or mirrorless camera with manual settings is ideal for capturing the night sky.
- Lens: A wide-angle lens with a fast aperture (f/2.8 or lower) will allow you to capture more light and detail.
- Tripod: A sturdy tripod is essential for keeping your camera stable during long exposure shots.
- Remote Shutter Release: This helps prevent camera shake when taking photos.
Understanding Camera Settings
Here are some recommended camera settings for astrophotography:
- Exposure Time: Start with a 15-30 second exposure to capture the night sky without star trails.
- Aperture: Use the widest aperture your lens allows to gather more light.
- ISO: Begin with an ISO of 800-3200 to capture stars effectively.
Tips for Better Results
Here are some additional tips to improve your astrophotography:
- Find Dark Skies: Light pollution can affect your photos, so try to shoot in areas with minimal light pollution.
- Use Manual Focus: Set your lens to manual focus and focus on infinity for sharp star photos.
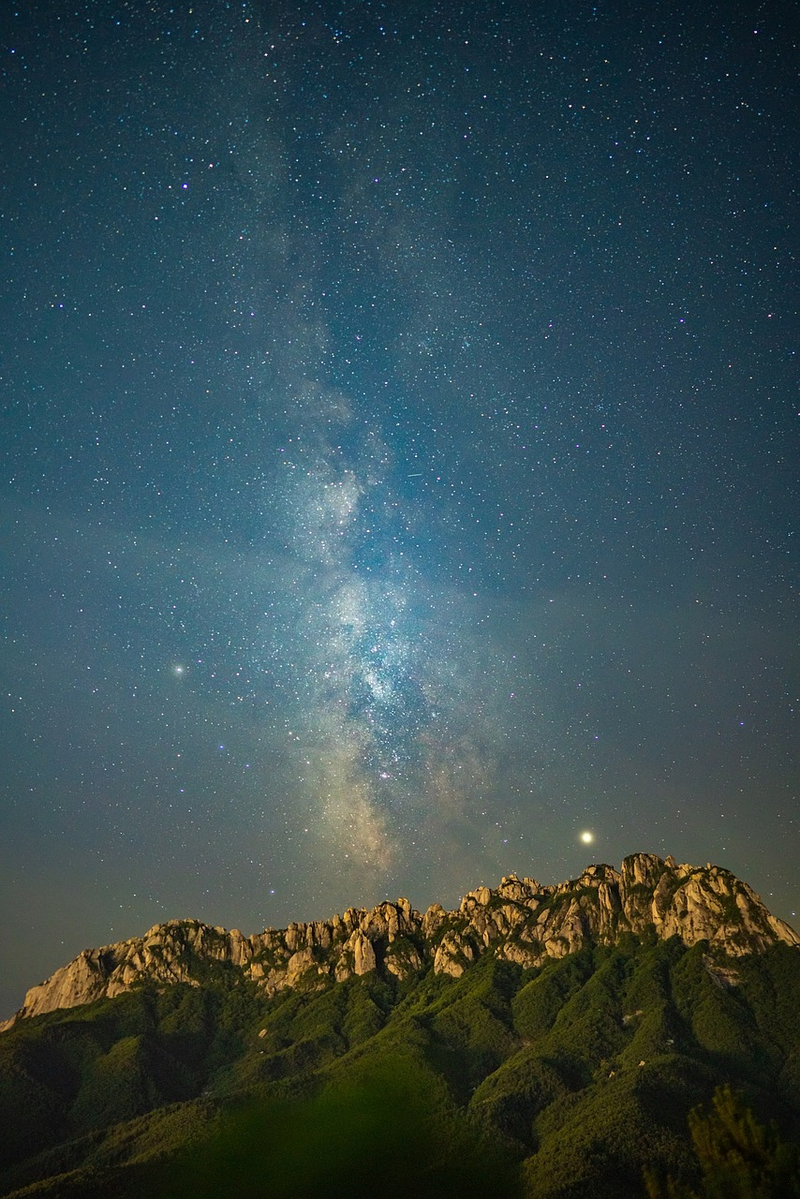
- Experiment with Composition: Include interesting foreground elements to add depth to your night sky photos.
With these tips and techniques, you'll be well on your way to capturing stunning celestial moments. Stay tuned for more astrophotography insights in our next installment!